Introduction Freezing Warts
Warts can be one of those annoying skin problems that seem to appear out of nowhere — small, rough bumps that refuse to go away no matter how many creams or treatments you try. They’re not dangerous, but they can be embarrassing, uncomfortable, and persistent. If you’ve been searching for a reliable way to get rid of them without spending a fortune at the dermatologist’s office, freezing warts at home could be exactly what you need.
Cryotherapy, the process of freezing warts, has been used by dermatologists for decades. Today, thanks to modern formulations and easy-to-use home kits, you can safely perform a similar treatment right in your own bathroom. Instead of liquid nitrogen (which requires specialized handling and can reach temperatures below -320°F), these over-the-counter freezing products use a blend of dimethyl ether and propane to create a chilling effect that’s strong enough to destroy wart tissue — without professional equipment.
This comprehensive guide will walk you through everything you need to know about freezing warts at home — including how the method works, step-by-step application instructions, aftercare, and tips to prevent warts from returning. You’ll also learn when DIY freezing is appropriate and when you should consult a dermatologist instead.
What Exactly Are Warts and Why Do They Appear?
Before diving into home treatments, it’s essential to understand what warts are and why they form. A wart is a small, rough bump on the skin caused by infection with the human papillomavirus (HPV). There are more than 100 different types of HPV, and while most are harmless, certain strains infect the upper layer of skin, causing cells to grow more rapidly than normal — resulting in those telltale raised, rough spots.
Warts are highly contagious. You can catch them through direct skin contact with someone who has them, or indirectly through contaminated surfaces like towels, razors, and even shower floors. Once the virus enters a small cut or scratch, it can lie dormant for weeks before a wart appears.
Different types of warts include:
- Common warts (Verruca vulgaris): Usually found on hands, fingers, and knuckles — small, grainy, and rough in texture.
- Plantar warts: Appear on the soles of the feet and can be painful due to pressure when walking.
- Flat warts: Smaller and smoother; often appear on the face, arms, or legs.
- Filiform warts: Long and thread-like; often appear around the mouth, nose, or eyes.
- Periungual warts: Grow around fingernails or toenails and can be particularly stubborn.
Understanding which type you’re dealing with helps determine if freezing is the right option. Most home freezing kits are best suited for common and plantar warts.
How Does Wart Freezing Work? The Science Behind Cryotherapy
Cryotherapy works by destroying the wart tissue through extreme cold. When you apply the freezing agent (usually a mixture of propane and dimethyl ether), the temperature drops to around -70°F (-57°C). This sudden cold exposure causes ice crystals to form inside the cells of the wart, leading to cell rupture and death.
After treatment, the body naturally recognizes the damaged tissue and sheds it over several days. New, healthy skin gradually replaces the area where the wart once was.
The process mimics professional cryotherapy done with liquid nitrogen, but with a milder formula designed to minimize the risk of burns or scarring when used correctly. While over-the-counter kits may not reach the same freezing depth as medical-grade treatments, they’re effective for small to moderate warts and are safe for home use when you follow instructions closely.
Cryotherapy also helps stimulate the immune system to recognize and attack the HPV virus, reducing the likelihood of recurrence.
Step-by-Step Guide: How to Freeze Warts at Home Safely
If you’ve decided to try home cryotherapy, the key to success lies in preparation and precision. Here’s how to do it correctly:
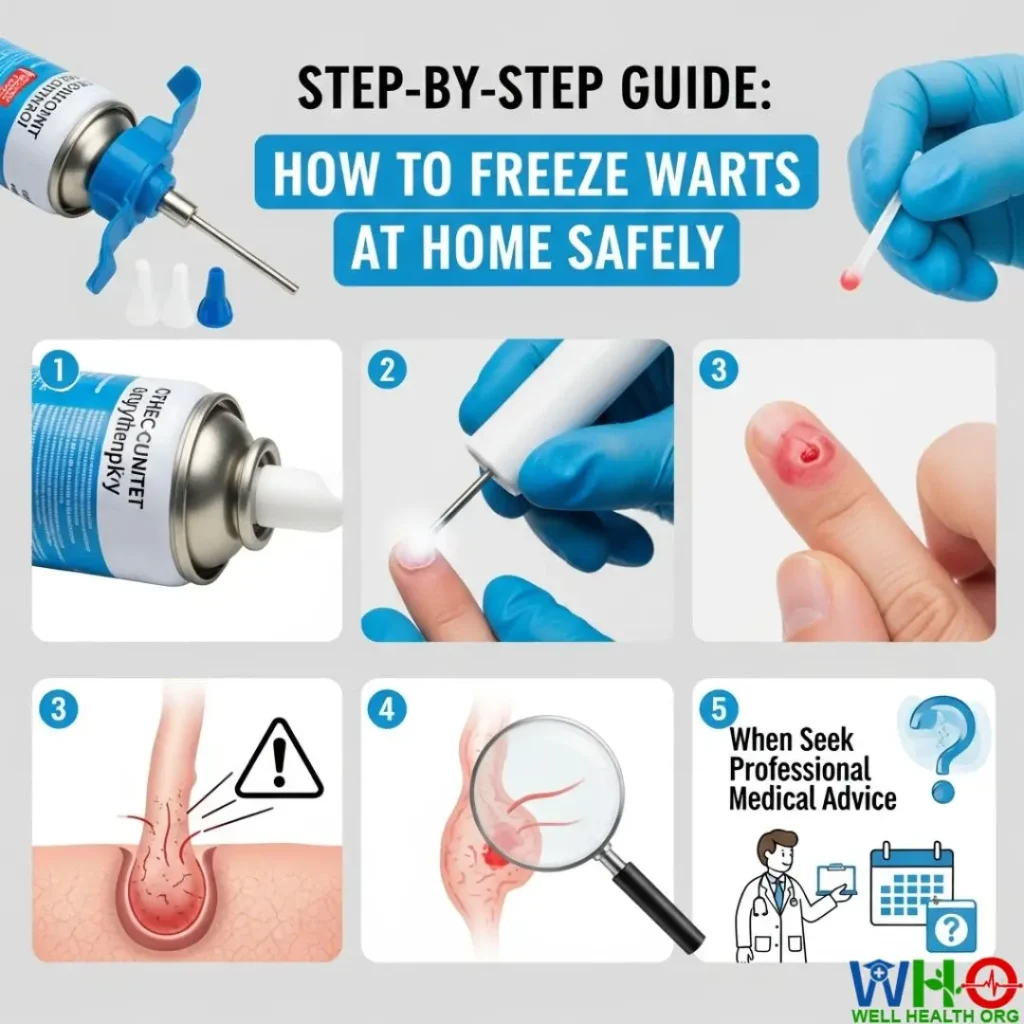
1. Clean and Prepare the Area
Start by washing the wart and surrounding skin with warm water and mild soap. This removes surface dirt and oils that could prevent the freezing agent from penetrating effectively. Pat dry with a clean towel.
If there’s a thick layer of dead skin or callus over the wart — especially for plantar warts — gently file it down using a pumice stone or emery board. Don’t overdo it; just enough to expose the wart’s surface for better contact with the freezing agent.
2. Gather Your Supplies
Make sure you have everything ready before you begin:
- Your chosen wart-freezing kit (such as Compound W Freeze Off, Dr. Scholl’s Freeze Away, or Wartner).
- Clean cotton swabs or tissues (to clean any spills).
- A timer or stopwatch (most applications require 10–40 seconds).
- Bandages (optional, for aftercare).
Ensure you’re working in a well-ventilated area, as the gases can have a strong odor. Keep the kit away from flames or heat sources — these products are highly flammable.
3. Load the Applicator
Most kits include a small foam or metal applicator tip. Attach it to the dispenser as directed. Hold the canister upright and press down for the recommended number of seconds to saturate the tip with the freezing solution. You’ll usually see a bit of vapor or frost forming on it — that means it’s ready.
4. Apply to the Wart
Immediately press the saturated applicator directly onto the wart. Hold it firmly in place for 10 to 40 seconds, depending on the wart’s size and the product’s instructions.
You’ll feel a sharp, stinging cold sensation during this time — that’s completely normal. It means the tissue is freezing. Avoid pressing for longer than recommended, as this could damage healthy surrounding skin.
5. Post-Treatment Care
Once you remove the applicator, the treated area will likely appear white or pale. Over the next few hours, it may become red and slightly swollen — similar to a mild burn. You might also notice a small blister forming within 24 hours. This is part of the healing process and indicates that the wart tissue is dying.
Keep the area clean and dry. You can apply a sterile adhesive bandage if the area is irritated or located where friction occurs (like on hands or feet).
Avoid popping any blisters. If they break naturally, clean the area gently with mild soap and water and cover it with a sterile bandage to prevent infection.
6. Repeat If Necessary
Most warts will require 1–3 treatments spaced about two weeks apart. For large or thick warts, several applications may be needed before complete removal. Always follow the instructions on your specific product and never exceed the recommended number of treatments.
Expected Results and Healing Timeline
After freezing, the wart and surrounding tissue begin to die. Within a few days to a week, the treated area may form a scab. Eventually, the wart will dry up and fall off naturally — usually within 10 to 14 days.
New, healthy skin replaces the dead tissue underneath. For some people, the area may remain slightly pink for several weeks as the skin continues to heal.
If the wart persists after 3–4 rounds of home freezing, it may be deeply rooted or resistant, in which case a dermatologist should evaluate it for alternative treatments such as professional cryotherapy or laser removal.
Common Side Effects and What to Expect After Freezing Warts
After you’ve completed a wart-freezing session, you might notice several temporary skin reactions — these are usually normal and a sign that the treatment is working. However, it’s important to understand what’s expected versus what could signal a complication.
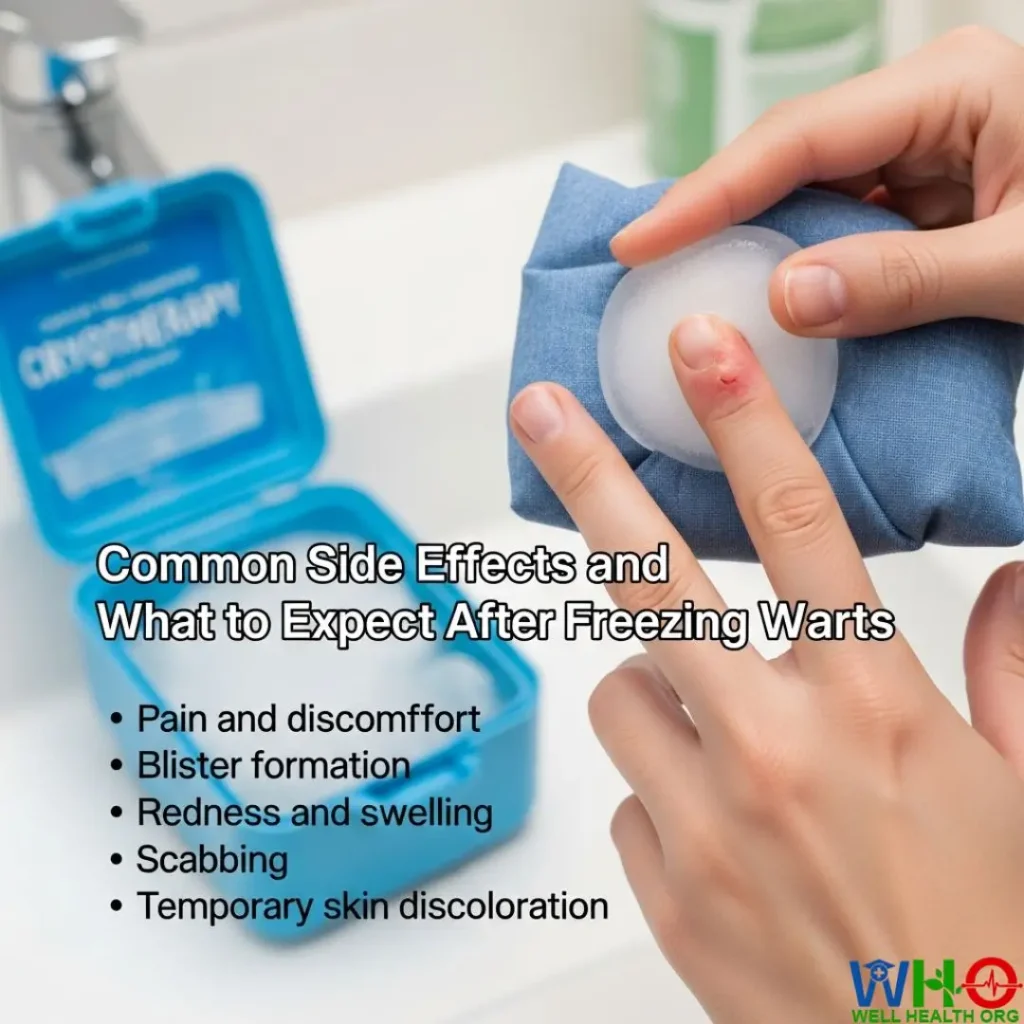
Normal Reactions
- Mild Pain or Discomfort:
During and shortly after application, a stinging or burning sensation is typical. This may last for several minutes to a few hours, depending on the wart’s location and your pain tolerance. Over-the-counter pain relievers like ibuprofen can help if needed. - Redness and Swelling:
Mild redness and inflammation are part of your body’s natural healing response. These symptoms generally subside within 24–48 hours. - Blister Formation:
It’s quite common for a small blister to form over the treated area within 24 hours. This happens because the frozen wart tissue separates from the healthy skin beneath it. The blister may be clear or slightly blood-filled — both are normal. Allow it to heal naturally without popping it. - Scabbing and Peeling:
After several days, the area may dry out and form a scab. This means the dead wart tissue is being shed. Once the scab falls off, healthy skin should appear beneath it.
Unusual or Concerning Reactions
- Severe pain that worsens over time
- Signs of infection (pus, increased redness, warmth, or fever)
- Deep ulceration or large blistering
- Persistent numbness or discoloration beyond the treated area
If any of these occur, contact a healthcare professional immediately. While home freezing is safe for most people, complications can arise if the product is misused or applied for too long.
Who Should Avoid Freezing Warts at Home
Though DIY cryotherapy is convenient, it’s not suitable for everyone. Certain individuals should avoid at-home wart freezing due to medical or skin-related conditions.
- Children Under Four Years Old:
A child’s skin is thinner and more sensitive, making it prone to frostbite or scarring. Pediatric warts are better treated under professional supervision. - People with Diabetes or Circulatory Disorders:
Reduced blood flow in these conditions can slow healing and increase the risk of complications, such as infections or delayed recovery. - Those with Immune System Disorders:
Immunocompromised individuals (such as those undergoing chemotherapy or living with autoimmune conditions) may not respond well to home treatments and could be at greater risk for viral spread. - Warts on Sensitive or Delicate Areas:
Never use freezing kits on the face, genitals, eyelids, or mucous membranes. The skin in these areas is too delicate, and improper treatment can cause permanent damage or scarring. - If You’re Unsure It’s a Wart:
Some skin growths, like moles or skin tags, can resemble warts but require different treatment. When in doubt, get a professional diagnosis before attempting removal.
Tips for Safer and More Effective Wart Freezing
1. Follow the Instructions Exactly
Each wart removal kit is slightly different. Always read the manufacturer’s directions carefully, including how long to apply the applicator and how many times it can be safely used per session. Over-freezing increases the risk of burns, while under-freezing may render the treatment ineffective.
2. Protect Surrounding Skin
Before applying the freezing agent, cover the healthy skin around the wart with petroleum jelly or a thin adhesive barrier. This helps prevent frostbite on unaffected areas and keeps the cold localized where it’s needed.
3. Don’t Over-Treat
It can be tempting to freeze the same wart repeatedly in quick succession, but doing so can cause skin trauma and scarring. Wait at least two weeks between treatments to allow your skin to recover.
4. Be Patient
Some warts vanish after just one treatment, while others might take three or four rounds. Don’t lose hope if results aren’t immediate — wart removal is often a gradual process. The body needs time to slough off the dead tissue and build fresh, healthy skin beneath it.
5. Maintain Hygiene
After treatment, wash your hands thoroughly and disinfect any tools used. Avoid touching the treated area unnecessarily, as HPV can spread to other body parts or to other people.
Preventing Future Warts
Once you’ve successfully removed warts, prevention becomes your best defense against future outbreaks. Since warts are caused by HPV, avoiding exposure and strengthening your skin’s natural barrier are key.
1. Keep Skin Healthy and Moisturized
Cracked or dry skin creates openings where the virus can enter. Regular moisturizing with a gentle, fragrance-free lotion helps maintain a strong, protective barrier.
2. Avoid Walking Barefoot in Public Areas
Public showers, locker rooms, and pool decks are hotspots for HPV. Always wear flip-flops or water shoes in these environments.
3. Don’t Pick or Scratch
Even if a wart starts peeling or itching as it heals, avoid picking at it. Doing so can spread the virus to nearby areas or cause scarring.
4. Use Separate Towels and Tools
Never share towels, nail clippers, or razors with others. These items can harbor viral particles that lead to reinfection or spread to family members.
5. Boost Your Immune System
A strong immune system can suppress HPV more effectively. Get adequate sleep, eat a nutrient-rich diet full of fruits, vegetables, and whole grains, and manage stress through regular exercise or mindfulness techniques.
When to See a Doctor for Stubborn Warts
Even with proper technique and patience, some warts resist at-home treatments. If you’ve used cryotherapy kits as directed for six to eight weeks with minimal improvement, it’s time to see a dermatologist.
Professional options include:
- Medical-Grade Cryotherapy: Using liquid nitrogen at extremely low temperatures to penetrate deeper and destroy the wart more effectively.
- Laser Therapy: Targets wart tissue with precision, minimizing damage to surrounding skin.
- Electrosurgery and Curettage: The wart is burned and scraped away under local anesthesia — used for large or resistant warts.
- Prescription Topical Medications: Such as salicylic acid, cantharidin, or immunotherapy creams that help your immune system fight the virus.
A dermatologist can also confirm that the growth is indeed a wart and not another skin condition that requires different management.
Real-Life Experience: What Users Say About At-Home Wart Freezing
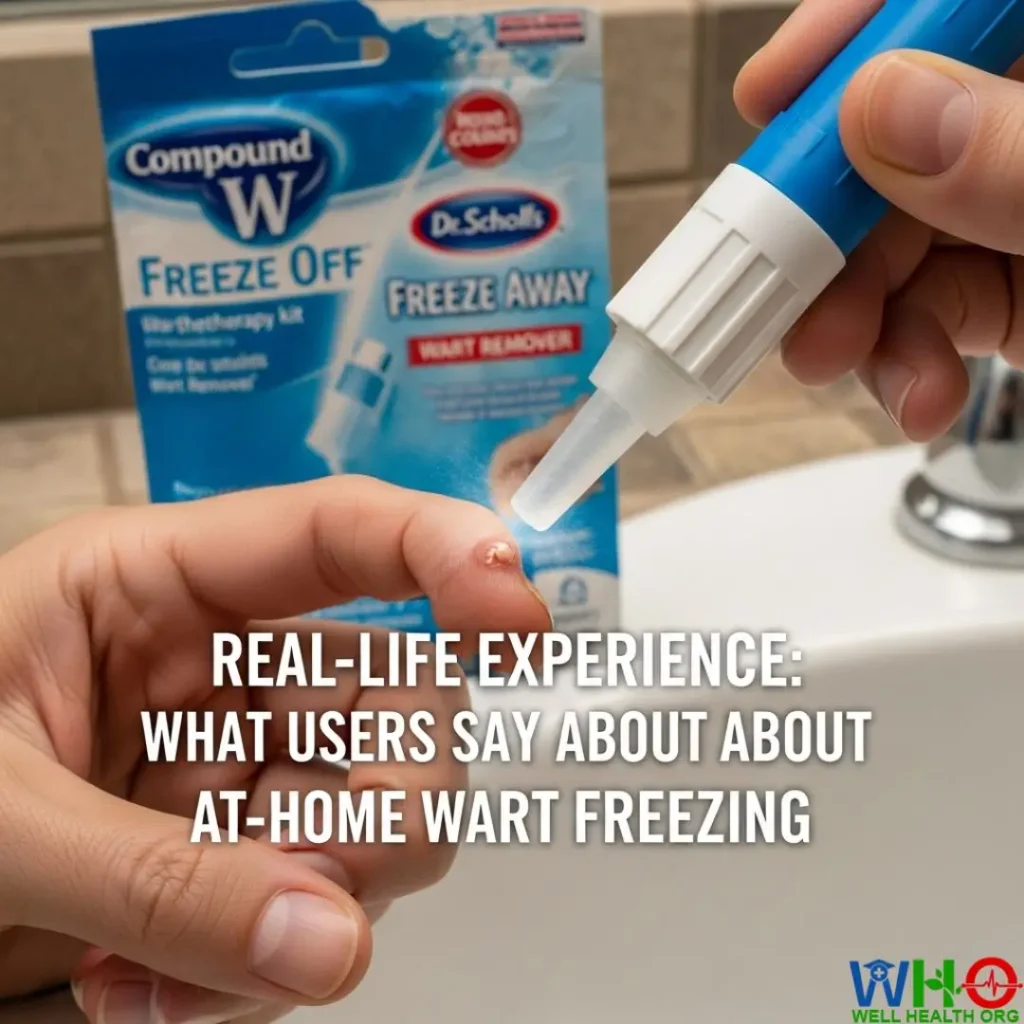
Many people have shared positive results after trying over-the-counter wart freezing kits.
- Case 1 – Jessica, 29: “I had a stubborn wart on my index finger for nearly a year. After two treatments with a home freezing kit, it started to blister and fell off within three weeks. It hasn’t come back since.”
- Case 2 – Daniel, 41: “My plantar wart was painful when walking. I followed the directions exactly — three rounds of freezing spaced two weeks apart — and it completely disappeared. The key was patience.”
- Case 3 – Maria, 35: “I made the mistake of over-freezing once, which caused a small burn. After that, I used petroleum jelly around the wart and had no problems. Definitely worth the effort.”
These stories highlight a crucial takeaway: proper technique and consistency are what lead to success. Over-freezing or impatience often causes irritation, not better results.
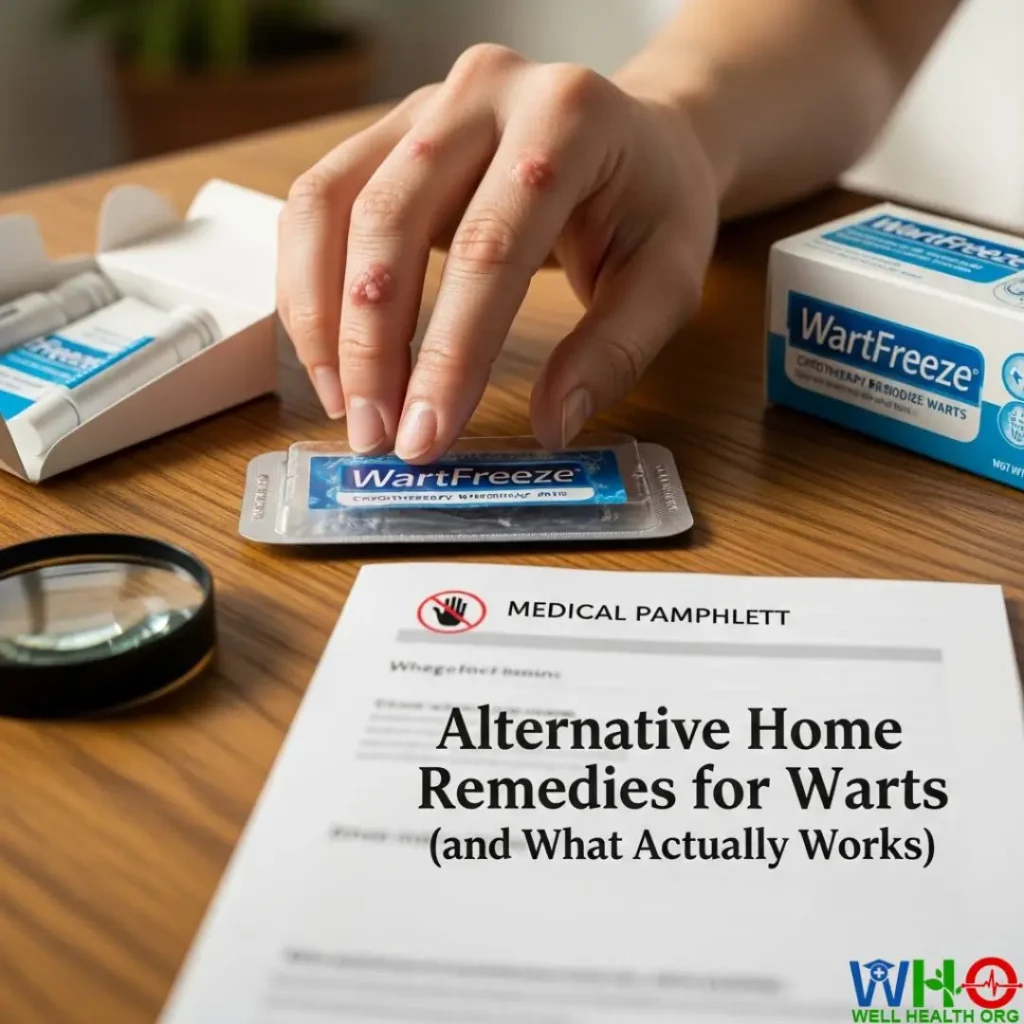
Alternative Home Remedies for Warts (and What Actually Works)
While freezing remains one of the most effective at-home wart treatments, many people also explore natural or alternative remedies. Some can support the healing process, while others offer little scientific backing. It’s important to know which methods are safe — and which to skip.
1. Salicylic Acid Treatments
Salicylic acid remains one of the most dermatologist-recommended wart treatments and can work well alongside freezing therapy. This beta hydroxy acid helps dissolve keratin — the protein that forms part of the wart — gradually softening and peeling away the infected skin layers.
To use:
- Soak the wart in warm water for 5–10 minutes to soften the skin.
- Apply salicylic acid (in liquid, pad, or gel form) directly onto the wart.
- Cover it with a bandage overnight.
- Repeat daily for several weeks until the wart diminishes.
Combining salicylic acid with home freezing can boost success rates — just avoid applying acid immediately before or after freezing to prevent skin irritation. Alternate between the two treatments on different days.
2. Apple Cider Vinegar
Apple cider vinegar has gained popularity for its natural antiseptic properties. It creates a mildly acidic environment that may help break down wart tissue over time. However, results vary and it can be harsh on sensitive skin.
To try it safely:
- Mix one part apple cider vinegar with two parts water.
- Soak a cotton ball in the mixture and secure it over the wart using medical tape.
- Leave it on for a few hours or overnight.
- If you notice irritation or burning, remove immediately and rinse the area.
While not as scientifically proven as freezing or salicylic acid, this method may be effective for small, surface-level warts.
3. Duct Tape Occlusion Therapy
This unconventional remedy has been surprisingly supported by some dermatologists. The theory is simple: depriving the wart of oxygen and constant exposure to friction from the tape helps trigger an immune response that destroys the wart tissue.
How to use it:
- Cut a small piece of duct tape and place it directly over the wart.
- Leave it on for 5–6 days, then remove the tape and soak the wart in warm water.
- Gently exfoliate with a pumice stone to remove dead skin.
- Reapply a new piece of tape and repeat the cycle until the wart disappears.
While success rates vary, duct tape therapy is safe, affordable, and worth a try alongside freezing for persistent warts.
4. Natural Immune Boosters
Because warts are viral, strengthening your immune system can naturally help your body eliminate them. Incorporate:
- Vitamin C and Zinc-rich foods like citrus fruits, bell peppers, and almonds.
- Probiotics (in yogurt or supplements) to support gut health and overall immunity.
- Green tea or echinacea tea, known for antiviral and immune-modulating effects.
Remember — no natural remedy is a substitute for clinically tested wart removal methods, but these options may complement your routine.
Comparing Home Cryotherapy vs. Professional Wart Freezing
If you’re still deciding whether to treat warts at home or visit a clinic, it helps to weigh the pros and cons of each method.
| Factor | Home Cryotherapy | Professional Cryotherapy |
|---|---|---|
| Temperature Used | Around -70°F (-57°C) using propane/dimethyl ether | Around -320°F (-196°C) using liquid nitrogen |
| Effectiveness | Moderate – best for small or new warts | High – suitable for deep or resistant warts |
| Pain Level | Mild to moderate | Moderate to severe (local anesthesia may be used) |
| Cost | Affordable ($10–$40 per kit) | Higher ($100+ per session) |
| Convenience | Can be done anytime at home | Requires clinic appointments |
| Healing Time | 1–2 weeks per session | 7–14 days per session |
| Risk of Scarring | Slightly higher if misused | Low when performed by a professional |
Verdict:
For small, uncomplicated warts on the hands, fingers, or feet, at-home freezing can be a great first-line treatment. However, if the wart is large, painful, or recurring, professional-grade cryotherapy with liquid nitrogen offers deeper penetration and higher success rates.
Frequently Asked Questions About Freezing Warts at Home
1. How long does it take for a wart to fall off after freezing?
Most warts begin to darken, blister, and peel within 10 to 14 days after freezing. The dead tissue eventually falls off on its own, revealing fresh skin beneath. Stubborn warts may require several treatment cycles spaced two weeks apart.
2. Is wart freezing painful?
The freezing process causes an intense cold sensation that can sting or burn for a few seconds. Afterward, mild tenderness or throbbing may persist for several hours. Over-the-counter painkillers can help manage discomfort.
3. Can freezing leave a scar?
If done correctly, scarring is rare. However, over-freezing or picking at healing skin can increase this risk. Always follow directions carefully and avoid re-treating too soon.
4. What if the wart doesn’t go away?
If there’s no improvement after 6–8 weeks or three to four freezing sessions, consult a dermatologist. You may need professional cryotherapy, laser treatment, or prescription topical therapy.
5. Can I use wart freezing kits on plantar warts?
Yes, but use caution. Plantar warts (on the soles of your feet) are thicker and may need more than one treatment. For best results, soften the area with a warm foot soak before freezing.
Your Path to Wart-Free Skin
Freezing warts at home can be a game-changer for those seeking convenient, affordable, and effective wart removal. The key lies in proper technique, patience, and realistic expectations. You won’t see results overnight — but with consistency and care, the wart will die off and healthy skin will regenerate in its place.
Here’s a quick recap:
- Always prep your skin properly before treatment.
- Use the freezing applicator exactly as instructed — never exceed recommended contact time.
- Avoid over-treating or picking at blisters.
- Support your skin’s recovery with gentle moisturizers and good hygiene.
- Prevent recurrence by keeping your skin clean, avoiding direct contact with infected surfaces, and maintaining strong immunity.
If you follow these steps carefully, at-home cryotherapy can deliver impressive results that rival professional treatments — without the hefty cost or clinic visits. And if your wart proves too stubborn, your dermatologist is always there to help you finish the job safely.
Healthy, smooth skin is entirely within reach — all it takes is the right method and a little persistence.


